
1. Open your kit. There will be one piece of fabric for the bag, two handles, and a morsbags label.
 2. Sew three seams on each handle--one down the middle (close to the fold) and one down each side (also close to the fold). I wasn't smart enough to use contrasting thread for my tutorial, so the black lines indicate where the seams should be.
3. Lift up the fold on the main bag piece and tuck in each end of the handle. Fold the fabric back down over the handle.
 4. I like to place each end of my handle 4 inches from the ends of the bag, but you can place them wherever you like.
 5. Pin each end of the handle in place.
 6. Start sewing across the bottom edge close to the fold. Before you get to the handle, fold the handle up. (Remember to remove your pin first!)
 7. Continue sewing the seam over the handle.
 8. Make another seam across the top edge of the bag close to the fold. Repeat steps 3 through 8 to attach the handle on the other side of the bag.
 9. Now it's time to stitch the strong box and cross where the handles are attached to the bag. I'm sure there are several ways to do this, but this is how I do it so I only make one continuous seam. I also do my stitching on the outside of the bag since that's the part that is seen. Be sure to back stitch and the beginning and end of your seam. First, sew across the top over the previous stitching. Stop stitching right before the edge of the handle. Leave your needle down and pivot. Sew until you reach the stitching at the bottom. (There is no picture of this because I accidentally deleted it, and trying to replace the picture in blogger is a nightmare!)
  10. Sew across the previous stitching until right before the other side of the handle.


 14. Pivot and sew a diagonal line to the opposite corner.
 15. Clip your threads close to the stitching, and your strong box and cross is complete. Now you just have to sew three more on the remaining handle ends.
 15. Now it's time to attach the label. I think it's easier to do it now than when the bag is finished. I like to center my label between the handles. On one side, fold your bag in half lining up the handles to find the center and mark with a pin. At this point you can see what a horrible job I did cutting out this bag. (If you received a kit in this fabric, I apologize for doing such a poor job with my cutting.)
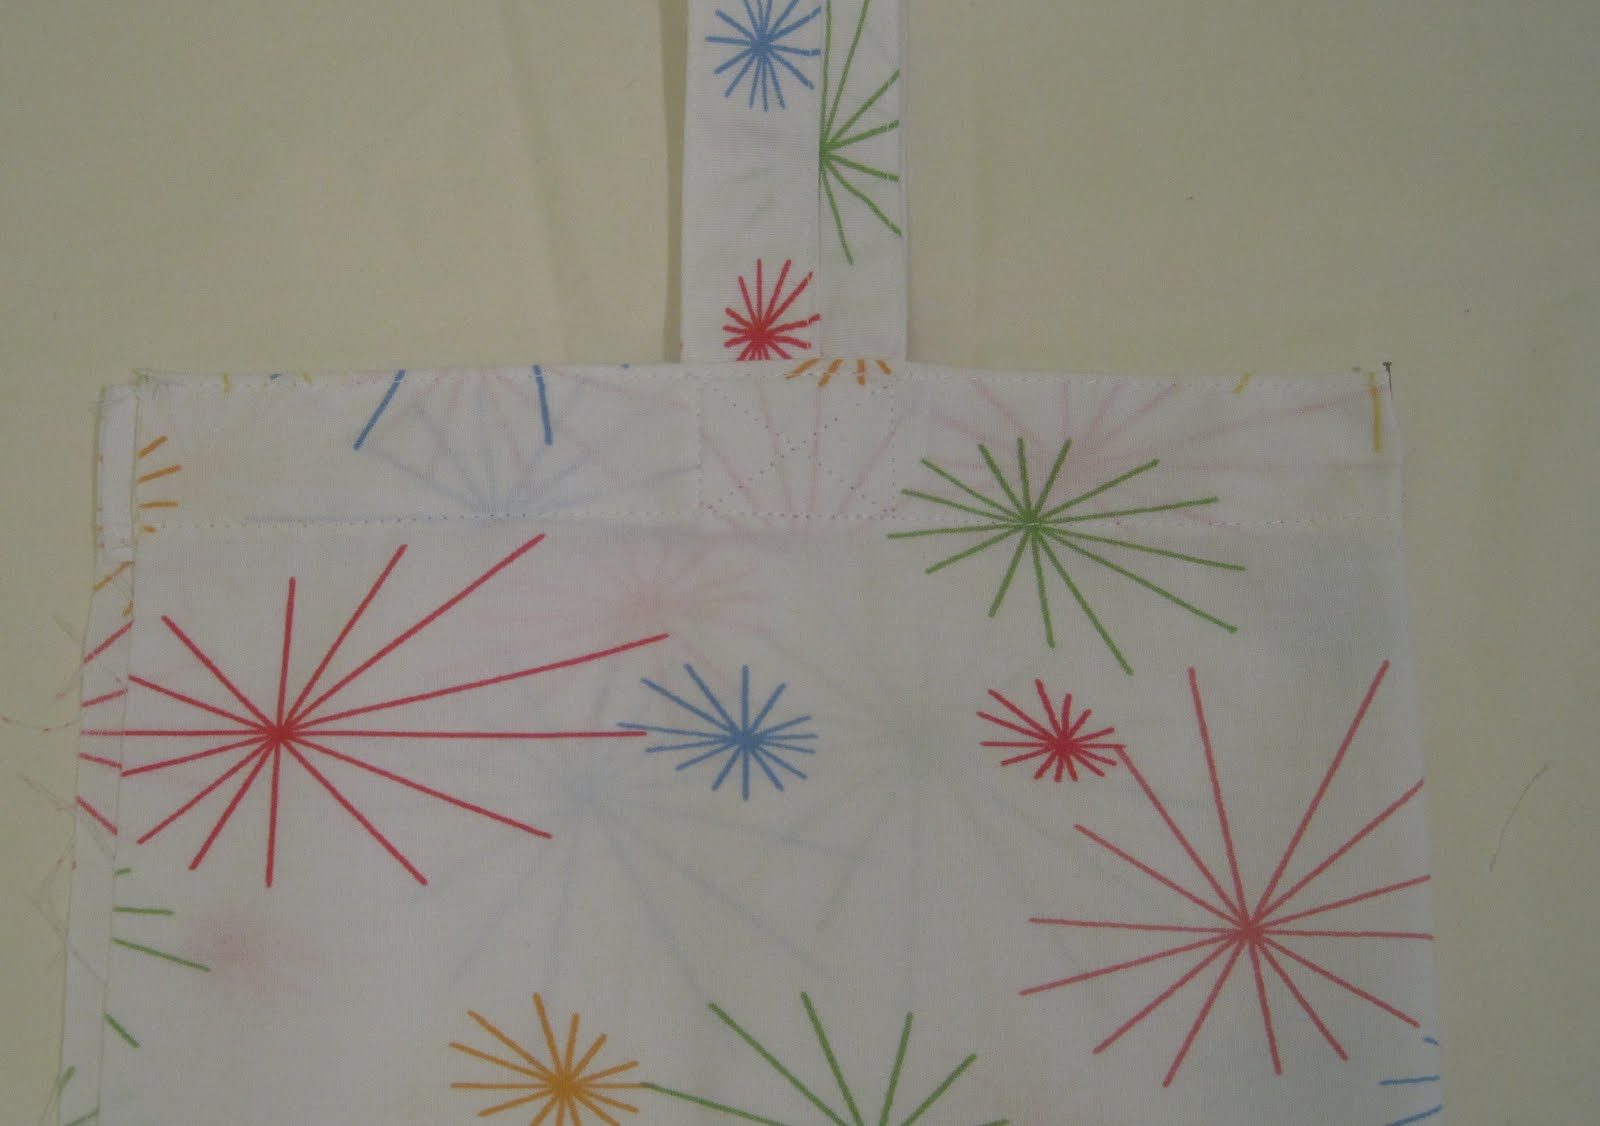 16. Center your label between the handles using the pin as a guide.
 17. Sew the label to the bag. I like to use a zig zag stitch, but you can use a straight stitch if you prefer.
 18. Now it's time to sew the sides of your bag. Fold your bag in half (fold at the bottom) with right sides out. If your side seams are really uneven (again, I apologize), recut the sides to even them up.
 19. Pin each side of the bag.
 20. Sew down each side of the bag. I use a 1/4 inch seam.
 21. Trim the edge close to the stitching so there's approximately 1/8 inch seam allowance left.
 22. Turn the bag inside out and press. Sitch down each side of the bag (approximately 1/4 inch seam allowance). The black lines indicate the seams. This will create your French seams. Turn the bag right side out and press again.
 23. Congratulations--your bag is done! Even if this is the only reusable bag you make and use, it still has the potential to replaces hundreds of plastic bags over its lifetime. Thank you for making one!
Too funny -- I sort of followed the directions from morsbag.com, but altered things more like you did! If it ever stops raining here in NYS, I'll take some pictures of my now-completed bag and post them. Thank you so much for your generosity.
ReplyDeleteHi! I've just come over from Jolly Bee. You're a real star! I'm going to go to your link to get started with my own bag. Love the tutorial. Thank you. Lots of love, Amanda xxx
ReplyDeleteYou are great! the tote is such a refined craftwork that I can't help falling in love with at first sight.It's just simple but chic.
ReplyDelete